

Guides ·
Work Instruction Template: Free Word Download + Example
Free work instruction template in Word and PDF, with a filled assembly example. Each step has a key point and a reason, so operators know how and why.

Table of contents
TL;DR
A work instruction template is a one-task, one-station form with a header, safety and PPE, tools and parts, numbered steps, quality checks, a training sign-off, and a revision history. The steps carry the value. Write each one as a major step (what), key points (how), and a reason (why). Download the free Word template below, or film the task once and let AI fill it.
- Download the work instruction template in Word or as a PDF. Both include a blank template and a filled assembly example.
- One work instruction covers one task at one station. If a document covers a whole process, it is an SOP.
- Every step gets three parts: the major step, the key points, and the reason. Operators follow instructions better when they know why a key point matters.
- Put a photo or a short clip on every step. On the floor, people look at the picture first.
- Word templates break down at revision time. Each change means reprinting and replacing every copy at every station.
What is a work instruction template?
A work instruction template is a ready-made form for writing down how to do one task at one station. It tells the operator what to do, in what order, with which tools, and how to check the result.
It is narrower than an SOP. An SOP describes a whole process and who owns it. A work instruction sits below it and shows the exact steps at one machine or bench. If you are not sure which document you need, read SOP vs work instructions.
A good template does two jobs:
- It makes every work instruction in your plant look the same, so operators know where to look.
- It forces the writer to answer the questions an operator will ask: Is this the current version? Is it safe? What do I need? How do I know I did it right?
Download the work instruction template (Word and PDF)
Download the Word template (.docx) · Download the PDF
The file is landscape, so the step table has room. It has four pages:
- Pages 1 and 2: the blank template, with hints in [brackets].
- Pages 3 and 4: a filled example for mounting a circuit board in an enclosure.
No email or signup needed.
The 8 sections of a work instruction
| Section | What to write | Common mistake |
|---|---|---|
| Header | WI number, revision, effective date, approved by, task title, station, part number, time per unit | No revision letter, so nobody knows which copy is current |
| Purpose and scope | One line on what the task achieves, one line on where it applies | Scope missing, so the WI gets used at the wrong station |
| Safety and PPE | PPE boxes, lockout yes/no, named hazards | Safety only at the top and never repeated in the risky step |
| Tools, parts, materials | Item, part number or spec, quantity | ”Use the right screws” instead of a part number |
| Steps | Major step, key points, reason, photo per step | Long paragraphs with several actions in one step |
| Quality checks | Check, spec, method, OK box | ”Check quality” with no spec |
| Training sign-off | Operator, trainer, date, signature | Signed once and never repeated after a revision |
| Revision history | Rev, date, what changed, who | ”Updated” with no detail on what changed |
How to write the steps: what, how, and why
The template uses a three-column pattern from the Training Within Industry (TWI) Job Instruction method, which many plants still use to train operators. It is the core of the template.
- Major step (what). One action, starting with a verb. “Seat the PCB on the standoffs.”
- Key points (how). Only the things that make or break the step: safety, quality, or a knack. “Hold by the edges. Connector side faces the cutout.”
- Reason (why). Why the key point matters. “Pressing on components cracks solder joints.”
The reason column is the part most templates skip. It is also the part that stops shortcuts. An operator who knows why a screw goes in corner to corner will not change the order on a busy shift.
A few rules that keep steps usable:
- One action per step. If you write “and”, you probably need two steps.
- Five to twelve steps per task. More than that usually means two tasks.
- A photo or clip on every step. Show the exact hand position or the exact part. See how to record work instructions for filming tips.
- Repeat the warning in the step. Put the safety warning inside the step where the hazard is, as well as in the safety section.
Work instruction example
Here are the steps from the filled example in the download. The task is mounting a controller PCB in an enclosure at assembly station 4.
| # | Major step (what) | Key points (how) | Reason (why) |
|---|---|---|---|
| 1 | Check the kit | PCB revision matches the traveler. No cracks or bent pins. | A wrong revision passes every later check and fails at test. |
| 2 | Put on the ESD strap and test it | Tester shows green before you touch the board. | Static damage is invisible and shows up later as a field failure. |
| 3 | Place the enclosure in the fixture | Label side toward you. Base fully down on both pins. | The board only fits one way when the base is seated. |
| 4 | Seat the PCB on the standoffs | Hold by the edges. Connector side faces the cutout. | Pressing on components or misalignment cracks solder joints. |
| 5 | Fit the 4 screws | Tighten corner to corner. Driver at 0.6 Nm. | Even pressure stops the board from bending. |
| 6 | Inspect and mark | No loose screws. Initial the traveler. | The next station trusts this check. |
The values are an example. Use your own specs, torque settings, and checks.
Copy-paste version
If you work in a wiki or a text editor, copy this skeleton instead of the Word file.
WORK INSTRUCTION
WI number: [WI-ASM-014]   Revision: [C]   Effective: [YYYY-MM-DD]   Approved by: [name, role]
Task: [verb + object]   Station: [line, cell, station]   Part no.: [number]   Time per unit: [min]

PURPOSE AND SCOPE
[What this task achieves. Where it applies and where it does not.]

SAFETY AND PPE
[ ] Safety glasses  [ ] Gloves  [ ] Hearing  [ ] Safety shoes  [ ] ESD strap  [ ] Lockout
Hazards: [name each hazard]

TOOLS, PARTS, MATERIALS
- [item] | [part no. / spec] | [qty]

STEPS
1. [Major step]
   Key points: [how: safety, quality, knack]
   Reason: [why the key point matters]
   Photo: [IMG-01]

QUALITY CHECKS
- [check] | [spec] | [method] | OK [ ]

TRAINING SIGN-OFF
Operator: ____  Trainer: ____  Date: ____  Signature: ____

REVISION HISTORY
Rev | Date | What changed | By
Where a Word template stops working
A template is the right first step. It gets every work instruction into the same shape. The problems start later, on the floor:
- Revisions mean reprinting. Change one torque value and someone has to find and swap every printed copy. Old copies stay in drawers.
- Photos are hard to keep current. A new fixture makes every picture wrong, and retaking and pasting them takes hours.
- One language only. A mixed-language line needs a translated copy of every revision.
- No proof anyone followed it. The sign-off box shows someone was trained once. It does not show they ran the latest version.
- Writing takes half a day. Someone watches the task, takes photos, and types it all up. That is why most tasks never get a work instruction.
From template to digital work instruction
SOPX keeps the same structure as this template. The difference is who fills it in. You film the operator doing the task, and AI writes the steps. Here is how each section maps:
| Template section | In SOPX |
|---|---|
| Header (WI number, revision, approval) | Every procedure gets a Document ID, an approval flow, and a version history |
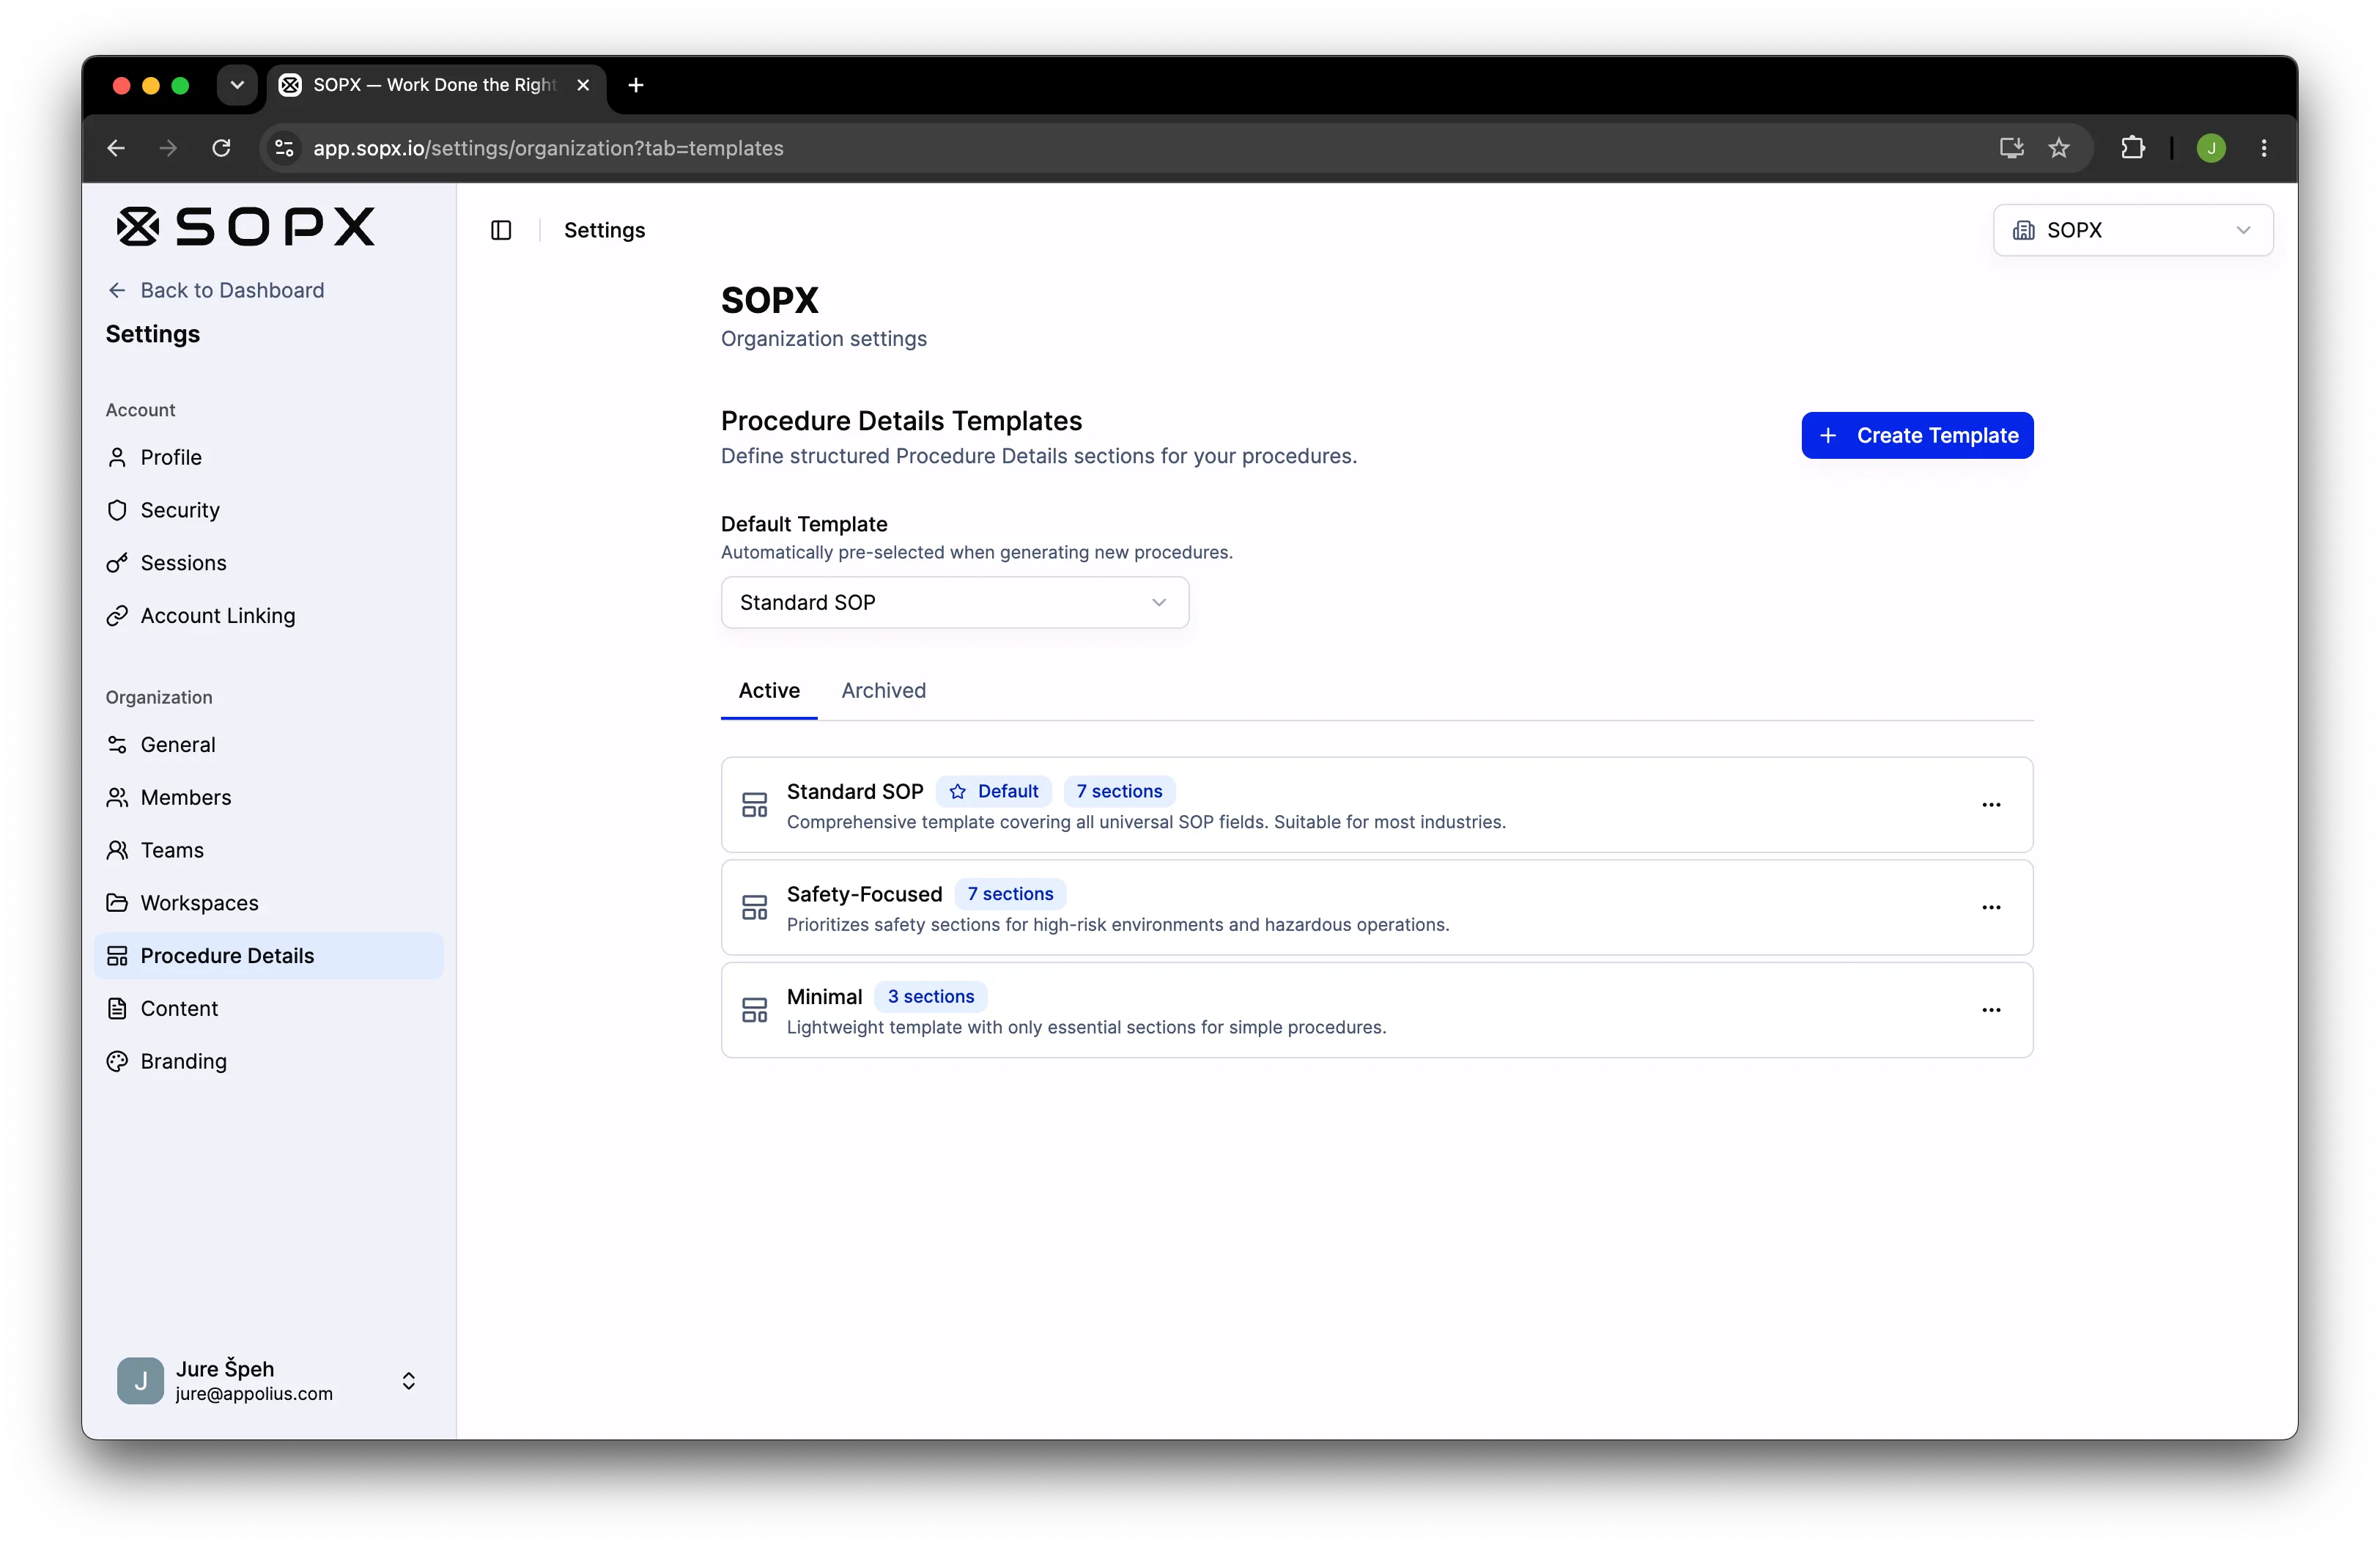
| Purpose, scope, tools and parts | Set these up once as Procedure Details sections in an SOP template. AI fills them from the same video |
| Safety and PPE | AI adds ISO 7010 safety signs to the steps that need them and lists them in a Safety Symbols table |
| Steps with photos | AI splits the video into steps, each with its own trimmed clip, title, and description. Add arrows and callouts on the key frame |
| Key points and reasons | Save “write a key point and a reason for every step” in a reusable AI instruction, and every new work instruction follows it |
| Quality checks | Run mode adds a checklist or form to the step, with yes/no, number, photo, and signature fields |
| Training sign-off | Training paths assign the work instruction, collect the sign-off, and ask for it again when a new version is published |
| Revision history | Procedure history records every version. QR codes at the station always open the current one |
Three ways to start, depending on what you have today:
- Nothing written yet: film one task on a phone and upload it. See video to SOP.
- Work instructions in Word: save one as a PDF and import it. AI turns it into structured steps. See convert a PDF to a digital SOP.
- Want to stay on paper for now: use the template above. When the reprinting gets painful, the structure carries over.
You can also translate a finished work instruction into 50+ languages, so a mixed-language line reads the same steps. To compare tools for this, see work instruction software.
Frequently Asked Questions
What should a work instruction include?
A header with the WI number, revision, and approval, then purpose and scope, safety and PPE, tools and parts, numbered steps, quality checks, a training sign-off, and a revision history. The steps matter most. Write each one as a major step, key points, and a reason, with a photo or clip.
What is the difference between a work instruction and an SOP?
An SOP describes a whole process: why it exists, who owns it, and the main stages. A work instruction shows the exact steps for one task at one station. One SOP often points to several work instructions. Read more in SOP vs work instructions.
How many steps should a work instruction have?
Usually five to twelve. Each step should be one action. If a work instruction runs past fifteen steps, split it into two tasks.
Should work instructions have photos or video?
Yes. Operators look at the picture first and read second. A photo per step is the minimum. A short clip per step works better for anything that involves movement, force, or a knack, such as seating a part or threading a belt.
Can I turn my existing Word work instructions into digital ones?
Yes. Save the Word file as a PDF and import it into SOPX. AI reads it and builds a structured, step-by-step work instruction that you can edit, approve, translate, and share by QR code.
Is this work instruction template free?
Yes. The Word and PDF files are free to download and use, with no signup.